Locations
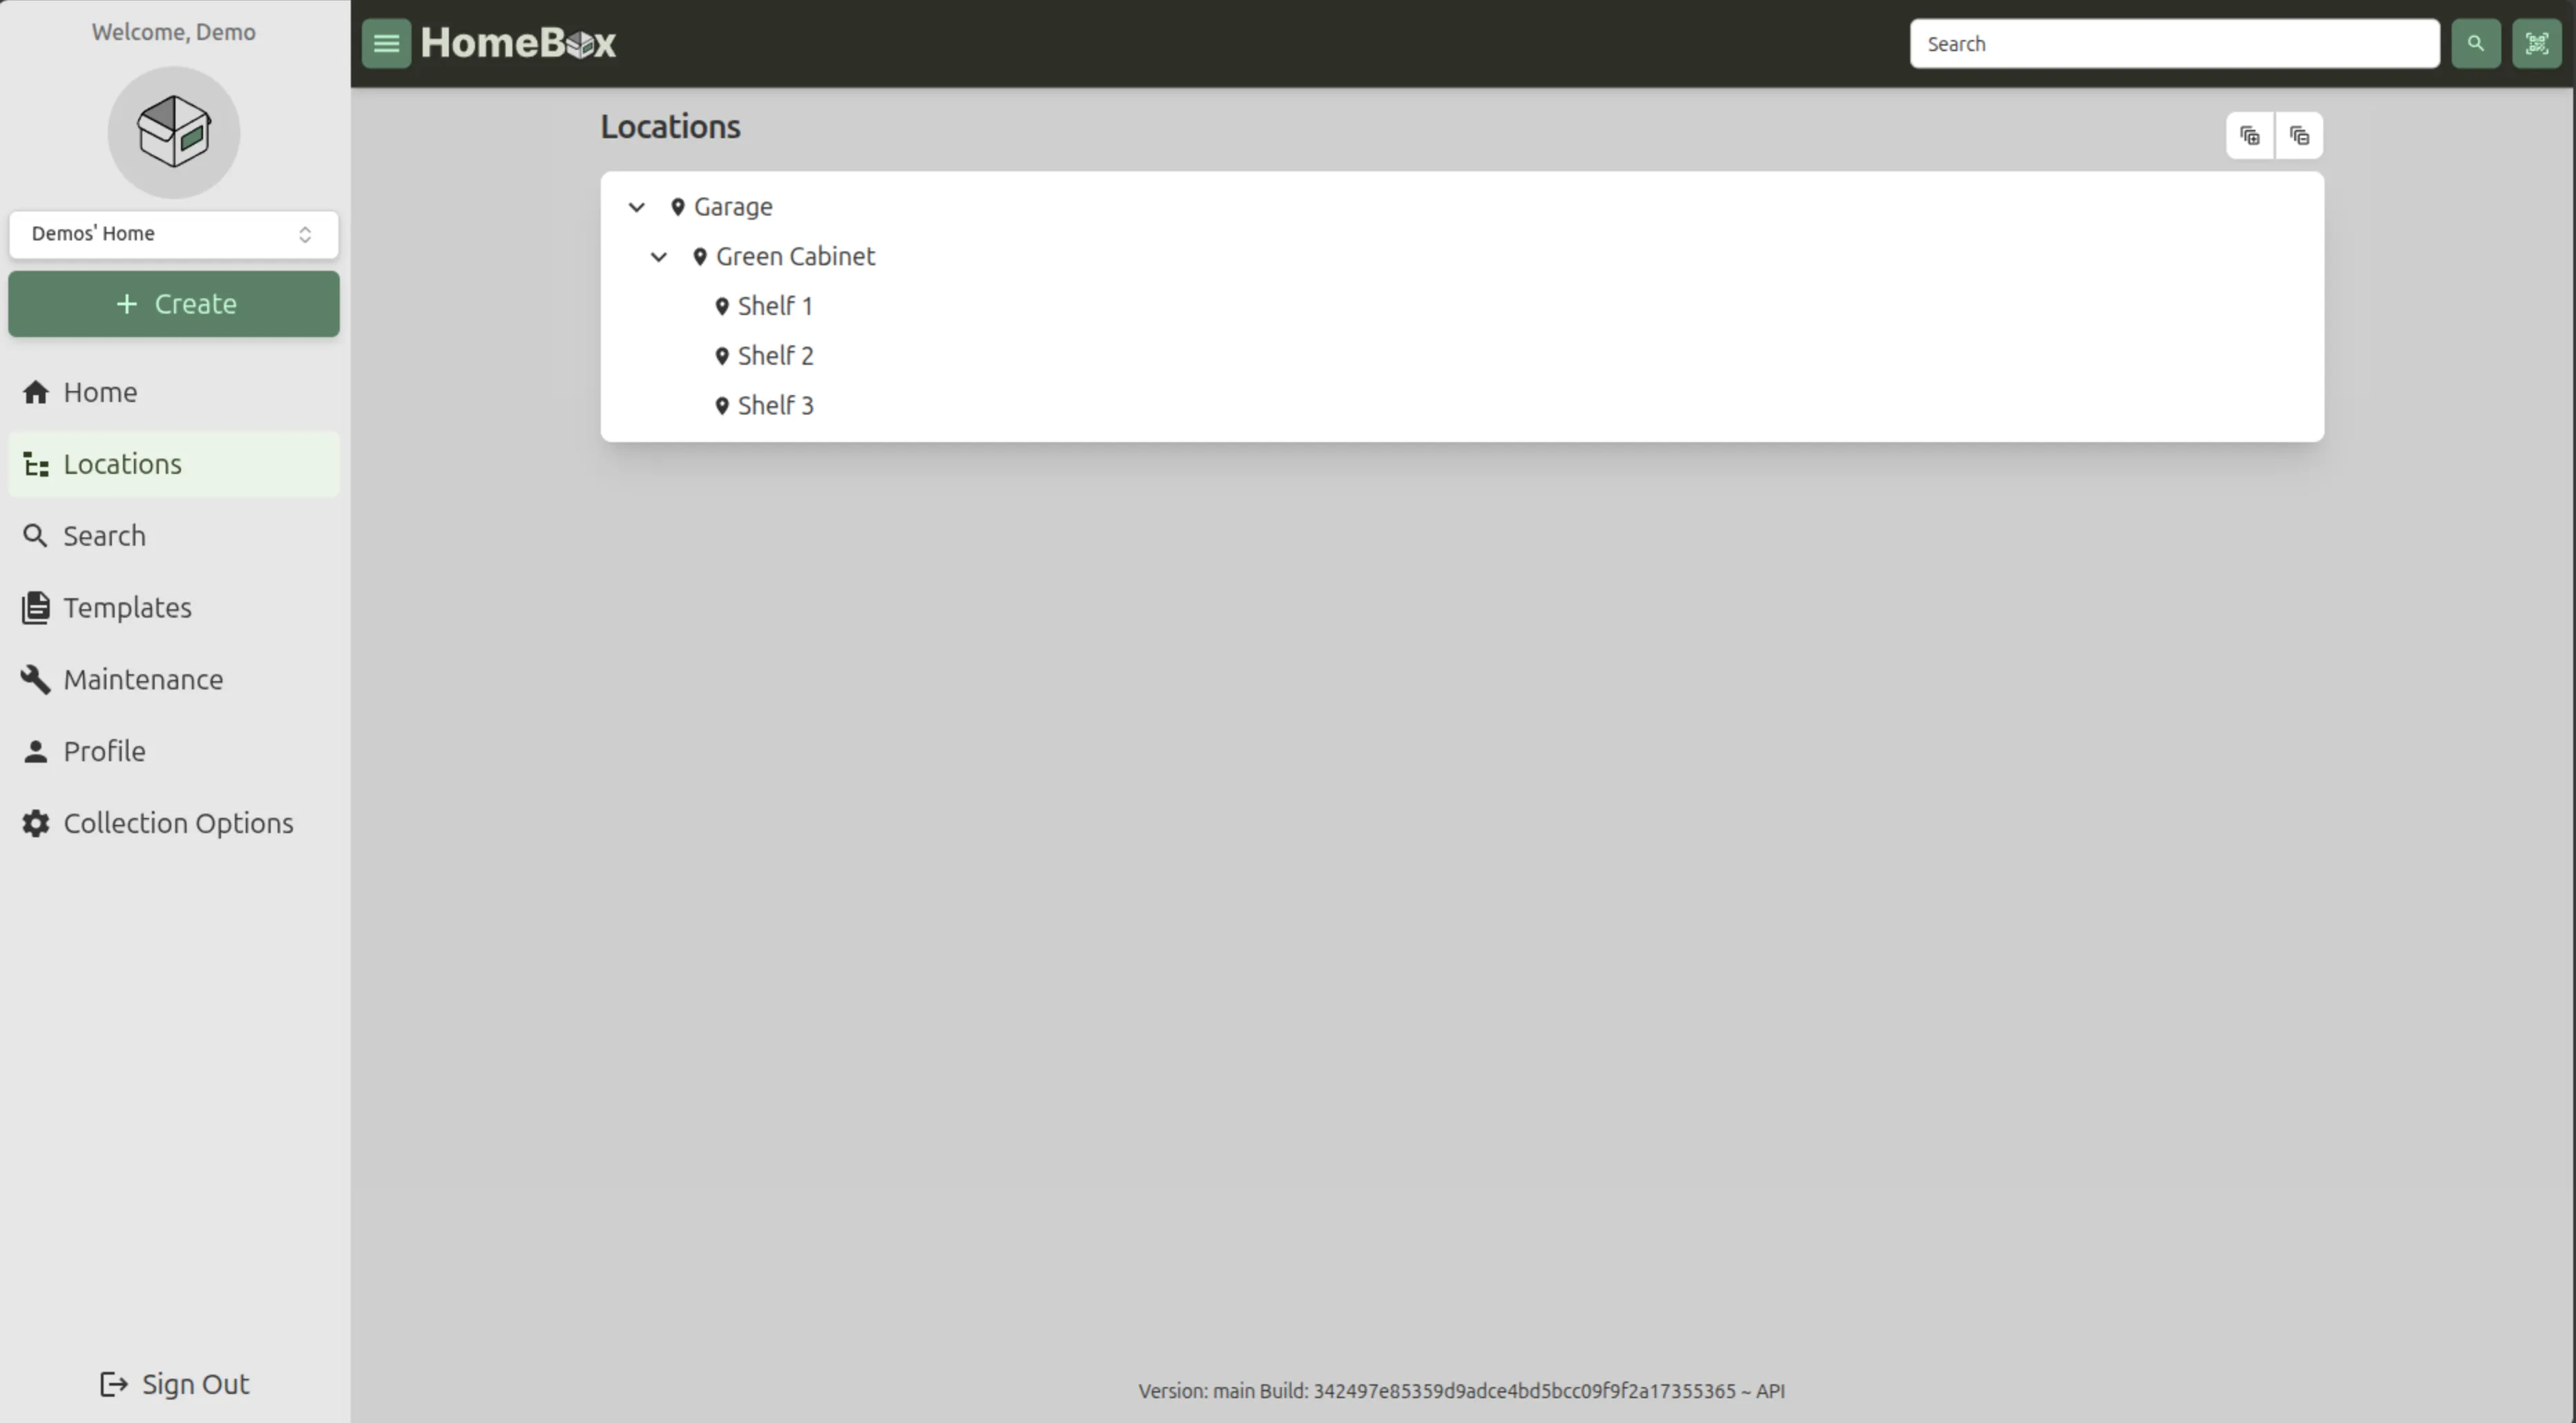
Locations form the basis for organizing your items within Homebox. They represent the physical or logical places where your items are stored, such as rooms in a house, shelves in a warehouse, or categories in a collection. By defining locations, you can manage and track where each item is kept. Importantly, Locations can be nested within each other, allowing for a hierarchical structure that reflects real-world storage systems.
Working with Locations
Section titled “Working with Locations”Adding a Location
Section titled “Adding a Location”To add a new location in Homebox, follow these steps:
- Click on the “Create” button in the upper left corner of the dashboard.
- Select “Location” from the dropdown menu that appears.
- Fill in the required details for the new location, such as its name and description.
- If you want to nest this location within an existing one, select the parent location from the “Parent Location” dropdown.
- Click “Create” to create the location, or “Create and Add Another” to create the location and immediately start adding another one.
Edit a Location
Section titled “Edit a Location”To edit an existing location, follow these steps:
- Navigate to the location you want to edit or delete in the Locations tree.
- Click on the location to open its details page.
- To edit the location, click the “Edit” button, make your changes, and then save them.
Delete a Location
Section titled “Delete a Location”To delete a location, follow these steps:
- Navigate to the location you want to delete in the Locations tree.
- Click on the location to open its details page.
- Click the “Delete” button and confirm the deletion when prompted.